Blogpost written by Congé Bricolé on her website, translated by us.
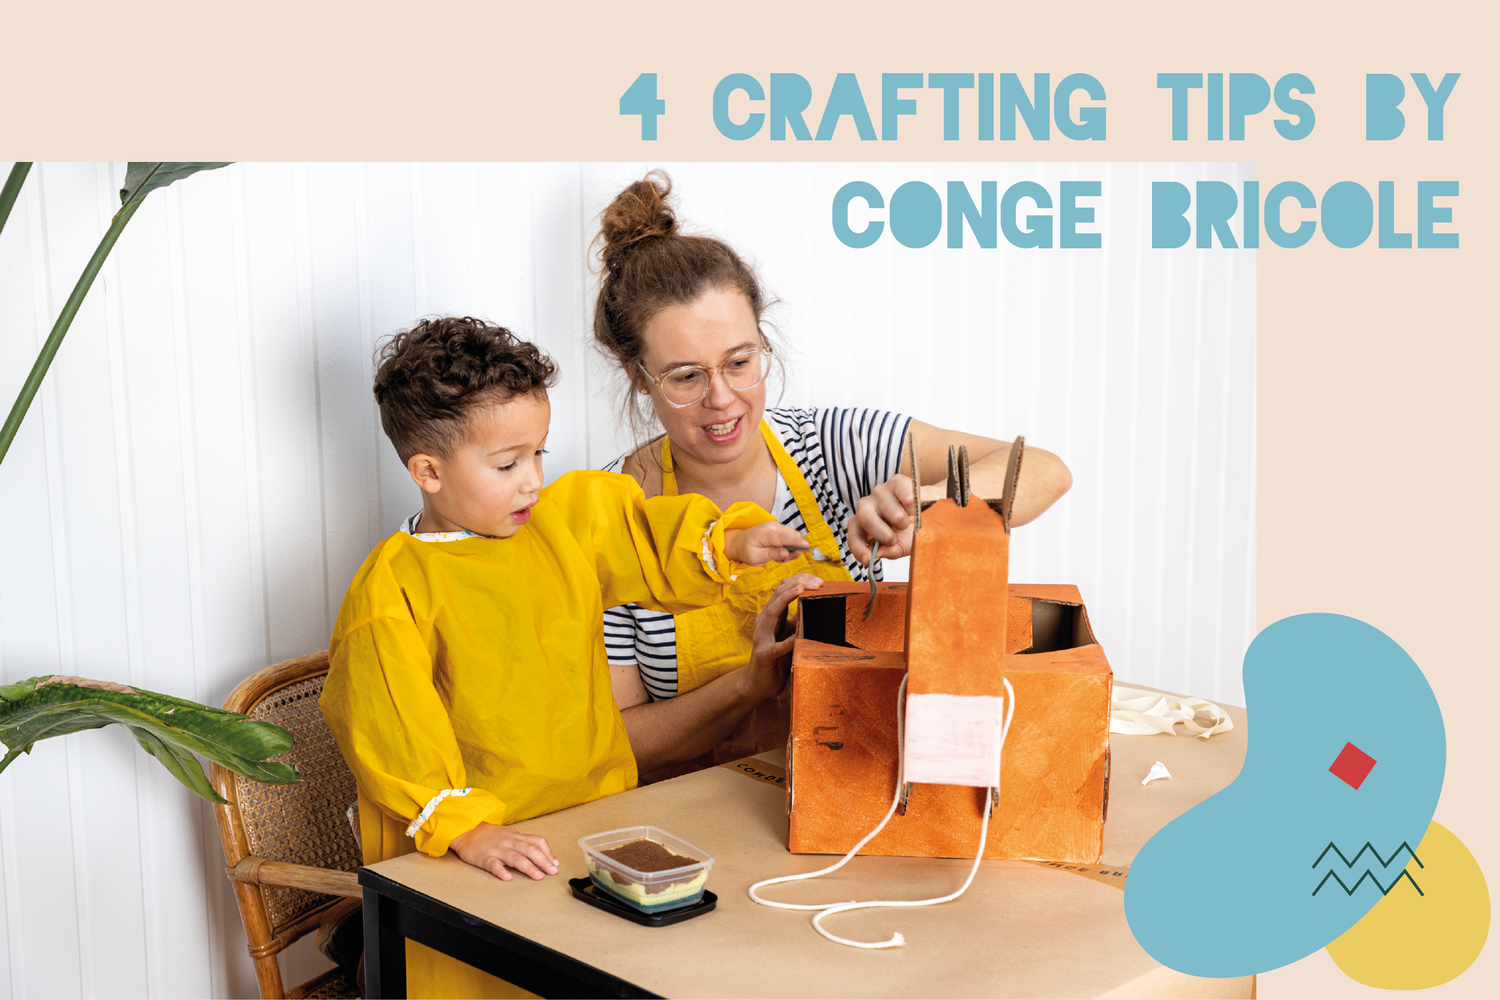
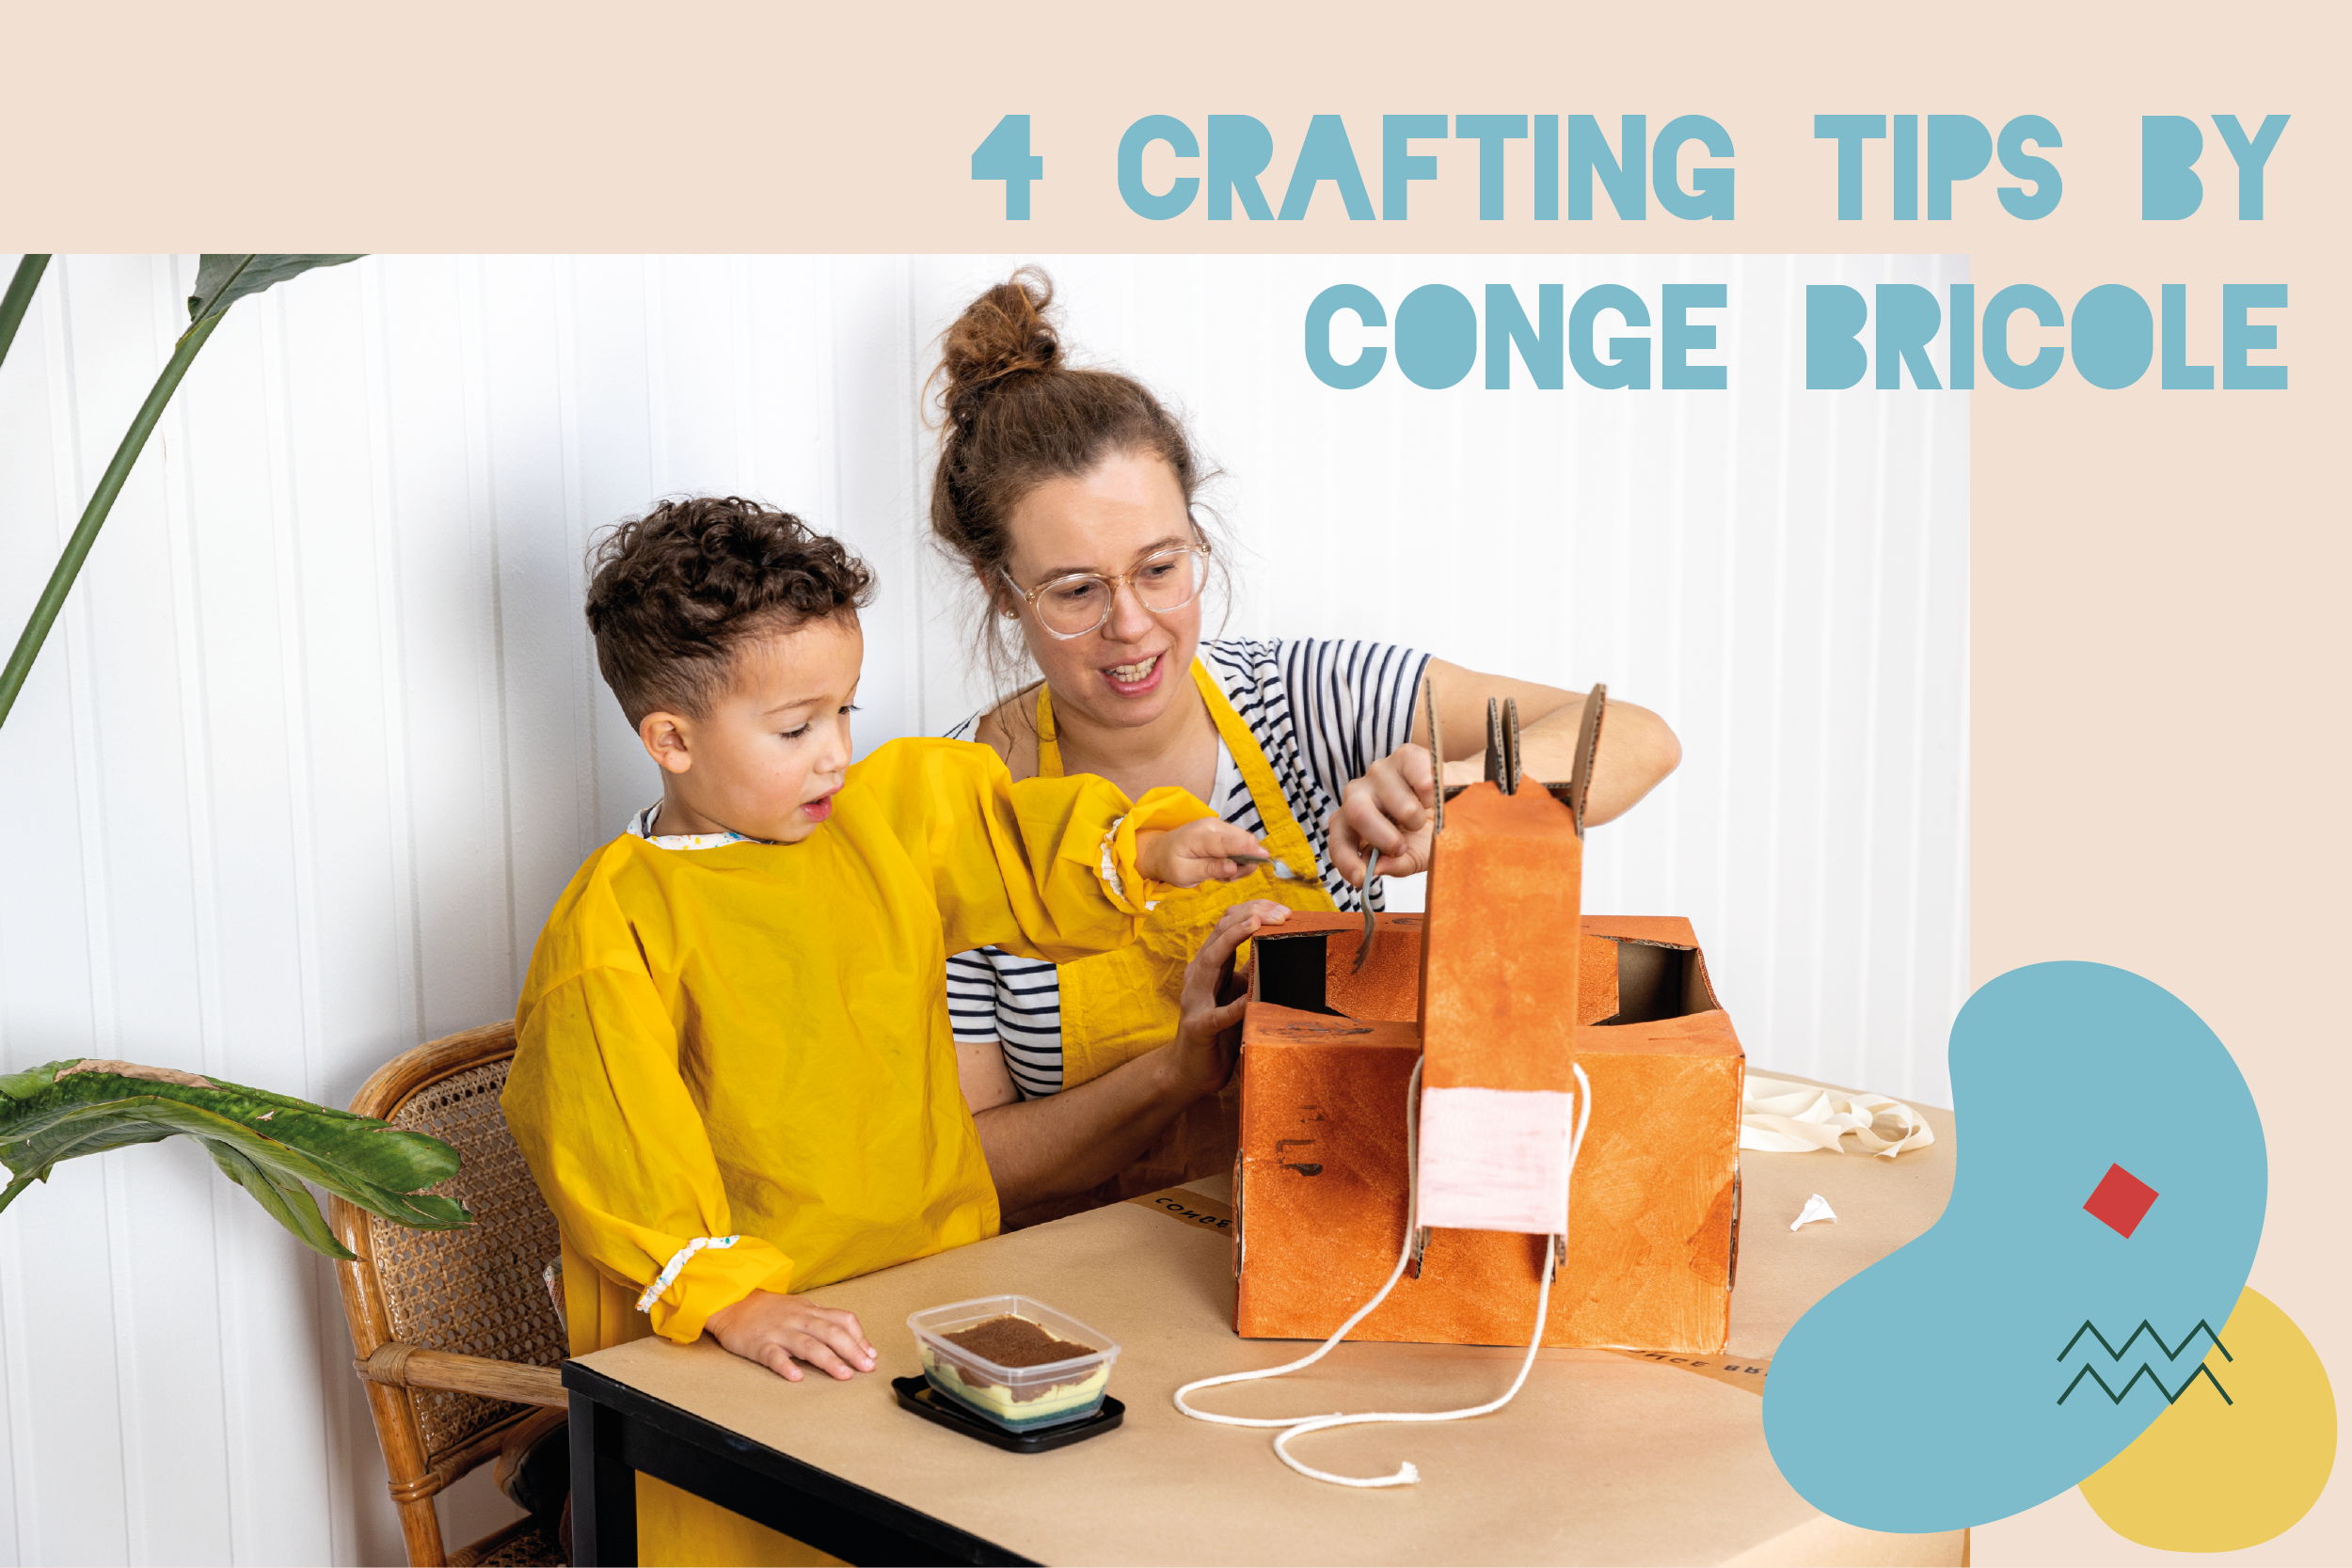
Creative photo shoot with Mister Tody
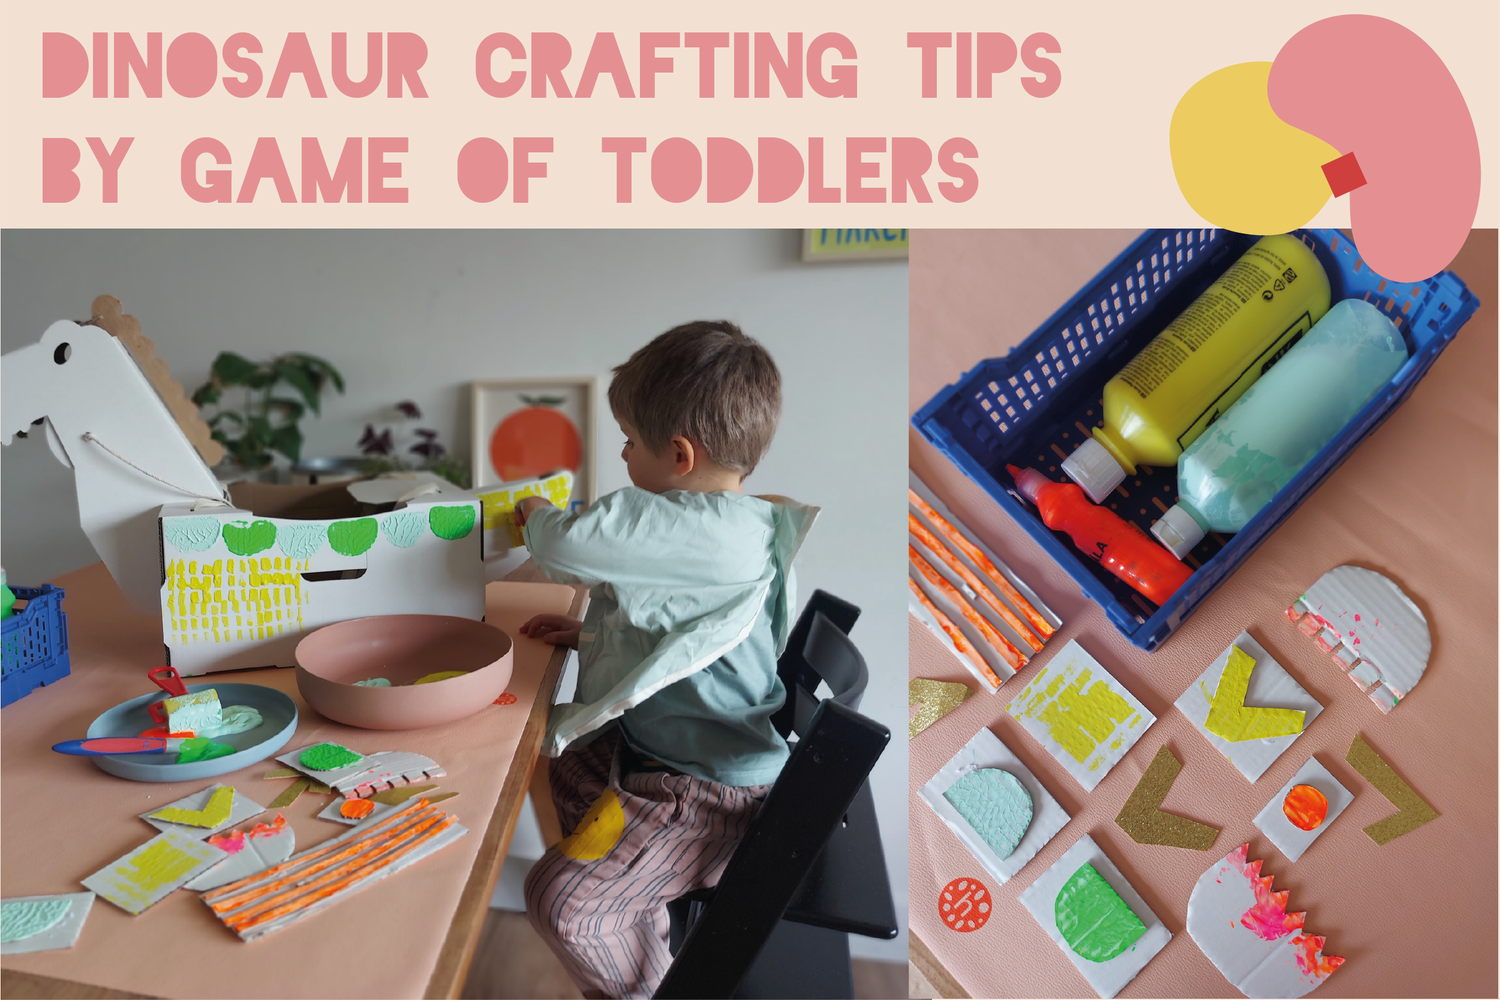
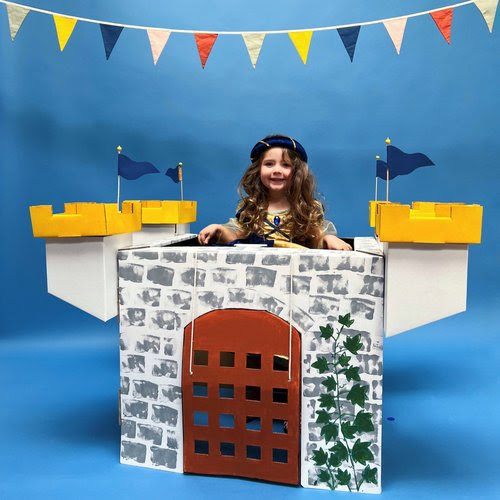
Last month, we hosted a captivating workshop and photoshoot in our studio featuring Mister Tody. This delightful Belgian brand is dedicated to crafting imaginative cardboard toys for the coolest kids around. What sets them apart is the ability to customize all their products, allowing your child to become the protagonist of their very own personalized adventure in no time. A quick visit to their website will undoubtedly ignite your creative spark and inspire you to embark on this imaginative journey.
Four Engaging Crafting Techniques for Enhancing Mister Tody Toys
We understand that it might seem daunting to start embellishing your Mister Tody creation. While you can certainly begin with pencils, markers, or paint for a simple touch-up, if you're seeking a unique approach, Congé Bricolé is here to lend a helping hand. In this blog post, we're unveiling four exciting techniques to infuse your Mister Tody acquisition with a personalized flair, ensuring even more joy for your children.1. Sponge Stamping for a Stone-Like Finish
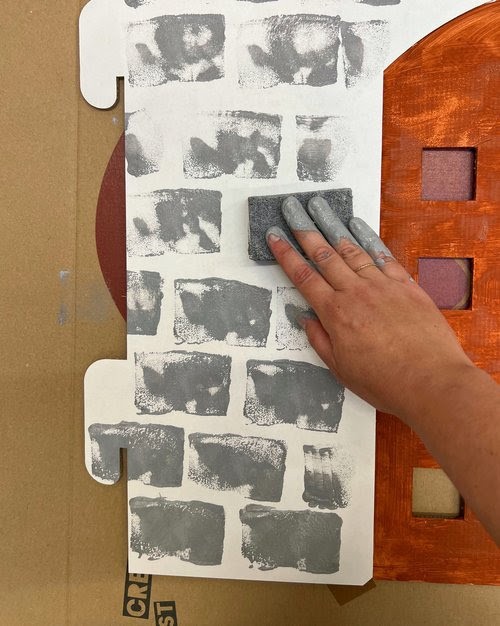
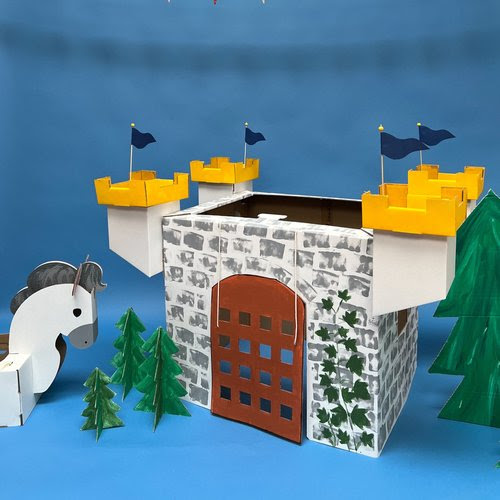
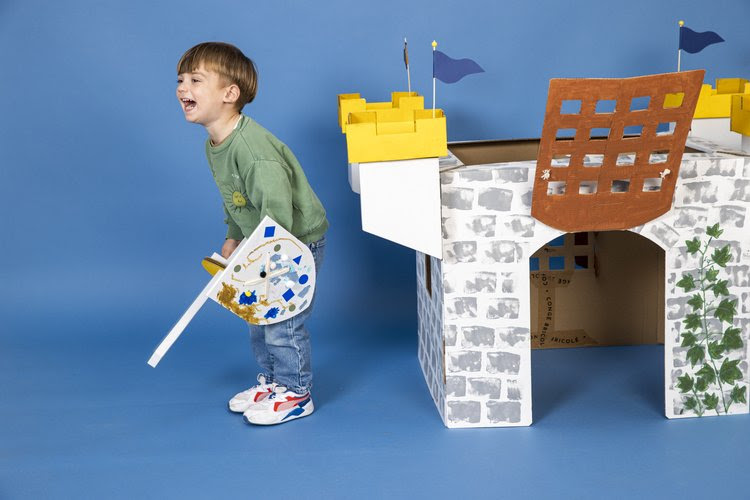
Achieve an authentic "stone" aesthetic for your castle by employing the sponge stamping technique. Begin by placing some gray paint on a palette, dip a sponge into the paint, and create imprints on your creation. Repeatedly execute this action to form a continuous row of bricks. For the row above, commence in the center of the first two bricks and replicate the same process. This simple method will transform your toy into a remarkably realistic stone wall.
2. Stamp with a fork
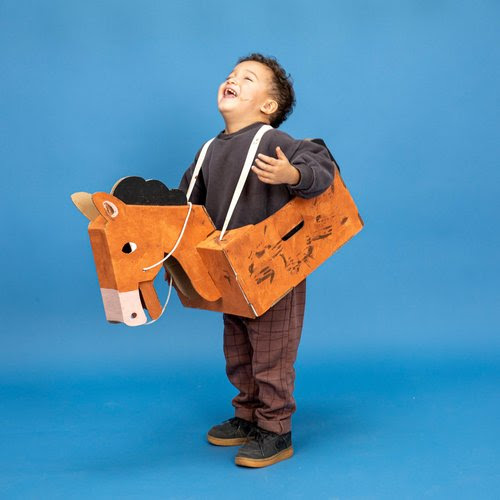
Looking to add some texture to your horse project? Grab a fork for a creative twist! Simply dip the fork into the paint and gently press it onto the cardboard. The fork's tines will create a delightful, furry texture. Kids always enjoy repurposing everyday items in new and inventive ways, so I'm certain they'll be absolutely thrilled with this technique.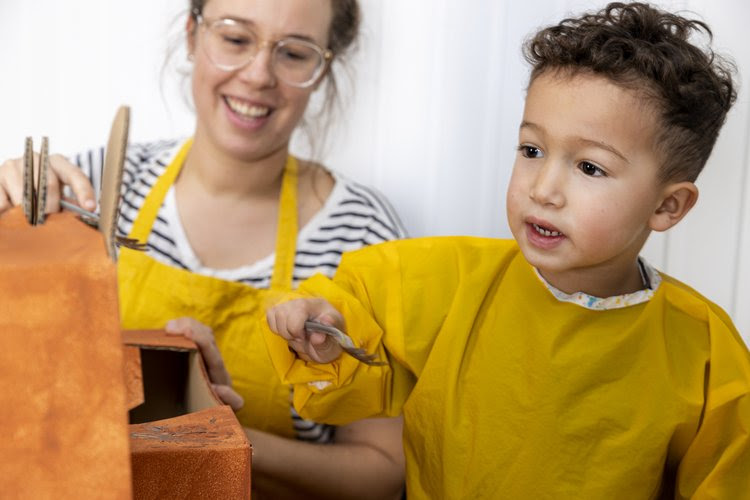

3) Wrap or cover with tinfoil
There's nothing quite as impressive as a knight's suit or crown that gleams brilliantly in the sunlight. Grab your roll of aluminum foil from the kitchen drawer and securely attach it to your shield or crown using tape. It's a wonderfully uncomplicated yet highly effective method. To infuse your creation with a touch of personalization, feel free to embellish it further with stickers, gems, or your own artistic drawings.

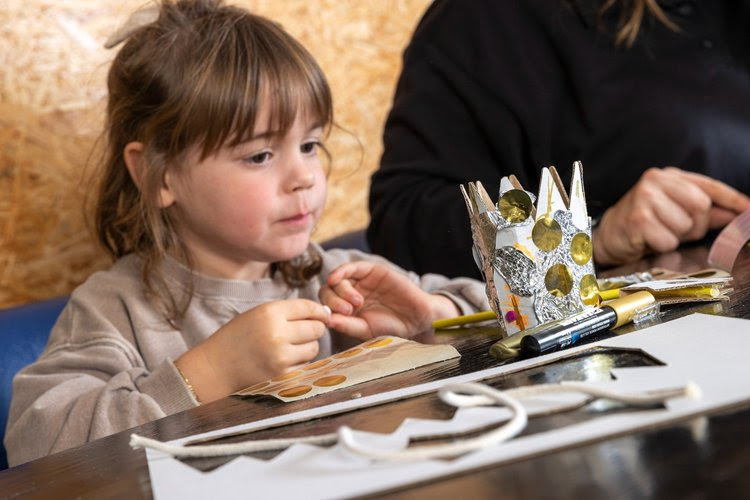
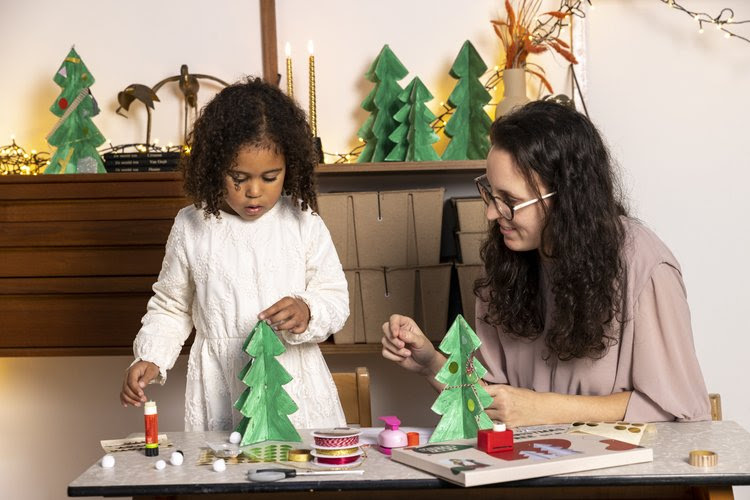
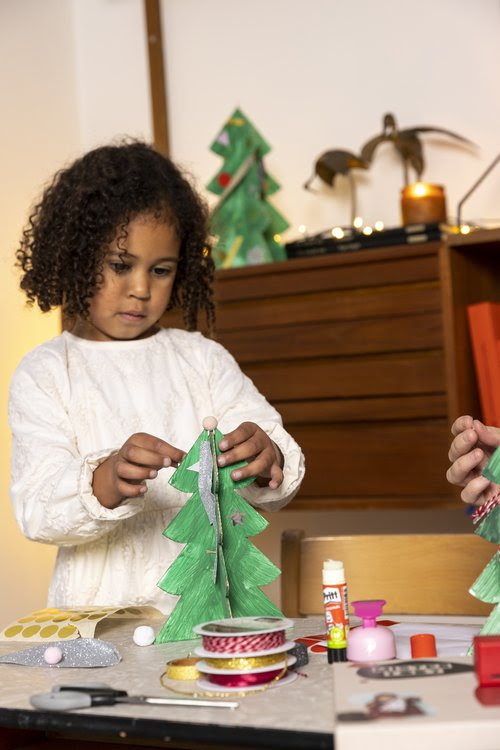
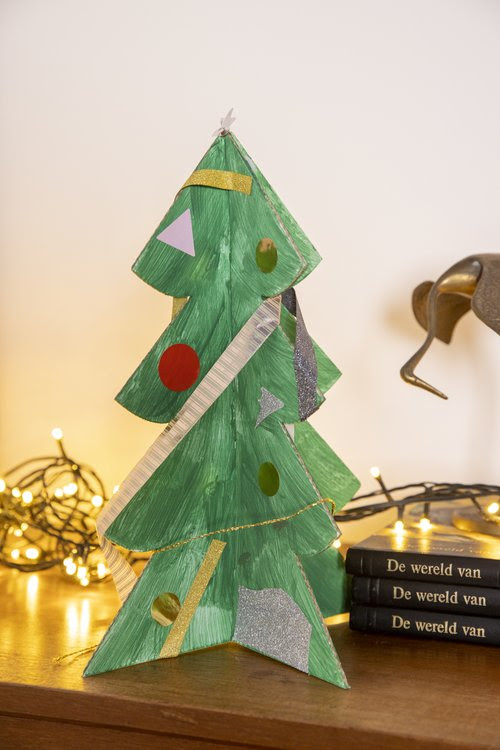
4) Decorate with stickers / washi tape
Stickers and washi tape are essential components of our craft arsenal. What I adore about these materials is that they grant your child a tremendous amount of creative freedom, while still yielding a beautifully neat outcome. Moreover, engaging with stickers and washi tape helps children refine their fine motor skills while they play—a true win-win situation.
Curious about their products? Go and a look on www.mistertody.com
The beautiful images are made by Stefanie Faveere.
=> Discover more about Congé Bricolé online and on their instagram. Want to get inspired? Buy her amazingly creative book